In the Bongo IoT (Matrix) platform, users have access to a total of 75 reports within the report section. This user guide will comprehensively explore each report step by step.
Before starting with the report, it is necessary to familiarize the users with some symbols.

In Bongo IoT, Reports are a collection of analytical tools that provide users with detailed information and data about your fleet. These are tabular representations of the data of the fleet. Users can optimize the performance of their fleet with the help of these reports and make well-informed decisions. Reports are available in layers; the first of which is a Summary Layer and the other is a Detailed Layer.
To open a report, click on Menu > Reports in the application and select the preferred report.
To Download the report, the user needs to know about:

Special Features #
Customizable Report Option #
Bongo IoT has always prioritized meeting the needs of its users, and to further enhance user experience, we are excited to introduce the new Scheduled report option. Now, users can conveniently receive their reports at a designated time without the need to log in to the platform.
With this feature, users can set up their preferred schedule, ensuring that they never miss important updates or insights. Whether it’s daily, weekly, or monthly reports, Bongo IoT allows users to customize their delivery frequency according to their specific requirements.
This functionality saves users valuable time and ensures that they stay informed and up-to-date with their Vehicle data effortlessly. Bongo IoT remains committed to providing seamless and user-friendly solutions that cater to the evolving needs of our valued users.
To schedule a report the user needs to go then click on the Create Schedule Report

Then, select the following:
- Relative Date Range: Users can select from options such as Today, This Week, Last Week, This Month, Last Month, or a Custom Date Range.
- Schedule Type: Users can schedule their report at Daily or Hourly intervals.
- Time Range: Users can specify the time frame for the report.
- Report Generation Time: Users can select the time when the report will be generated.
- Timezone: Users can choose their preferred time zone.
- Action Type: Users can select their preferred media for receiving the report. Available platforms include Email, FTP, SFTP, WhatsApp, and Telegram.
- File Format: Users can choose the file format for the report, such as PDF or XLS.
- Report Name: Users must enter a name for the report.
- Advanced Configuration: Users can configure the order of options within the report according to their preferences.
Access the Report using What’s App & Telegram #
To enhance user experience, Bongo IoT has introduced the option for users to receive reports via WhatsApp or Telegram messages, in addition to email and SMS. This update aims to provide users with more flexibility and convenience in accessing their data. Here’s how the process can be improved:
- Seamless Integration: Ensure that the integration with WhatsApp and Telegram is seamless. Users should be able to easily link their accounts or provide necessary permissions within the Bongo IoT platform to start receiving reports through these messaging apps.
- Customization Options: Offer customization options for users to choose the frequency and format of reports they receive through WhatsApp or Telegram. Allow them to select specific metrics or data points they want to be included in the messages.
- Smart Notifications: Utilize smart notifications to alert users about important updates or anomalies in their data. For instance, if there’s a sudden spike in temperature or a device malfunction, Bongo IoT can send a notification through WhatsApp or Telegram immediately to notify the user.
- Security Measures: Prioritize security measures to protect user data and ensure privacy. Implement end-to-end encryption for messages sent through WhatsApp and Telegram, and provide options for users to secure their accounts with two-factor authentication.
- User-Friendly Interface: Design a user-friendly interface within the messaging apps for users to interact with their reports effortlessly. Use intuitive navigation and clear prompts to guide users through the process of accessing and managing their data.
- Multi-Language Support: Offer multi-language support to accommodate users from different regions and linguistic backgrounds. Ensure that the messaging interface and notifications are available in languages commonly used by your user base.
Note: To receive the report via WhatsApp or Telegram, users must Schedule the report.
Activity #
In the Activity, the user has access to Today Activity, Travel, Travel History, Trip, Stoppage, Idle, Inactive, Live Matrix, Speed vs Distance, Status Summary, Vehicle Status, Daywise Distance, Work Hour Summary, Overspeed Summary, Vehicle Location.
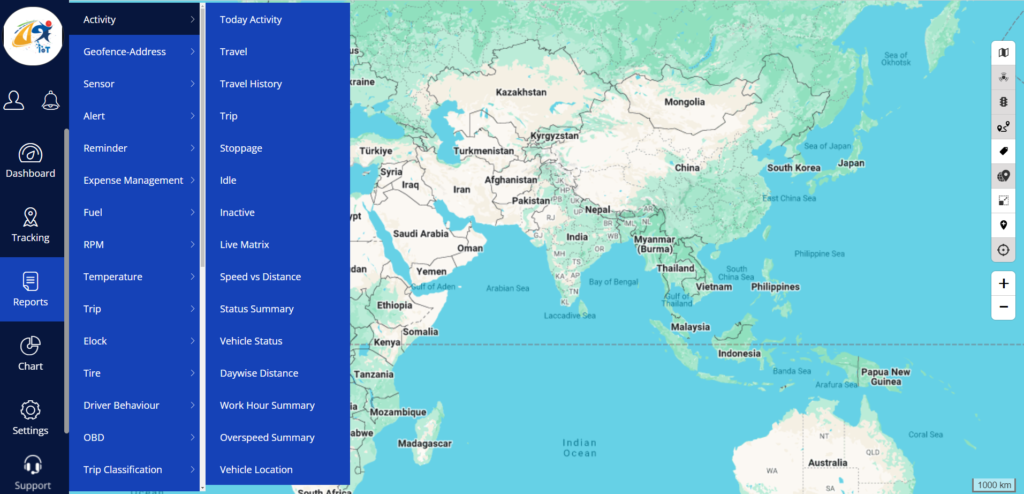
Note: If users are confused about the section and properties they need to just click on the (Description) Icon. Which is the upper right corner of each section.
In the Today’s activity and status summary, the user can see the report without selecting any filter and they can see all the vehicle data in a tabular format.
To access the Today’s activity and status summary, the user needs to go to
Report>Activity>Today’s activity
Report>Activity> Status summary,

The user needs to apply some filters to access the rest of the items in the activity summary. They are: company, branch, vehicle group, vehicle type, vehicle brand, vehicle model, date range, and vehicle. The user can then see the report for the selected vehicle.
Below given is an example of a report in Bongo IoT:


Geofence address #
In the Geofence Address, the user has access to Geofence, Address, Fence Inside Travel Report, Fence Outside travel report, Geofence Visited Summary, Geofence trip report, Geofence In/Out Summary, and Who was here.
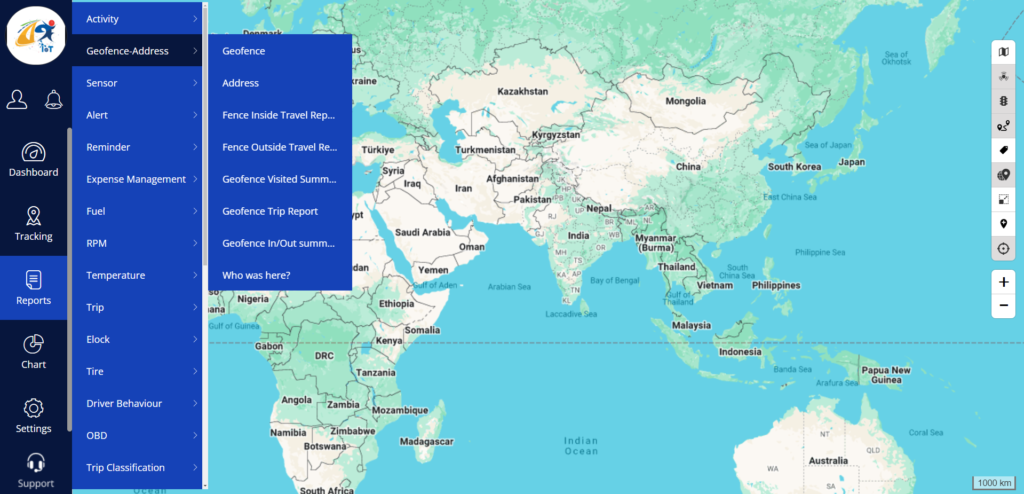
Note: If users are confused about the section and properties they need to just click on the (Description) Icon. Which is the upper right corner of each section.
The user needs to apply filters to access all of the items in the Geofence Address. They are: company, branch, vehicle group, vehicle type, vehicle brand, vehicle model, date range, Geofence, Geofence group, geofence type, address, and address type. The user can then see the report for the selected vehicle.

In the who was here section, the user can see the vehicle in the selected geofence area. To access this feature, The user needs to go
- Reports>Geofence Address> Who is here
- Select the area (the area must be less than 2km)
- Click on the find vehicle on the polygon area
- Select the vehicle on the left side
- Click on the preview to see the preview

Sensor #
In the Sensor, the user has access to Ignition, Air conditioner, Air conditioner misused, Analog Data, Driver, Attendance, Digital ports, and Immobilizer.
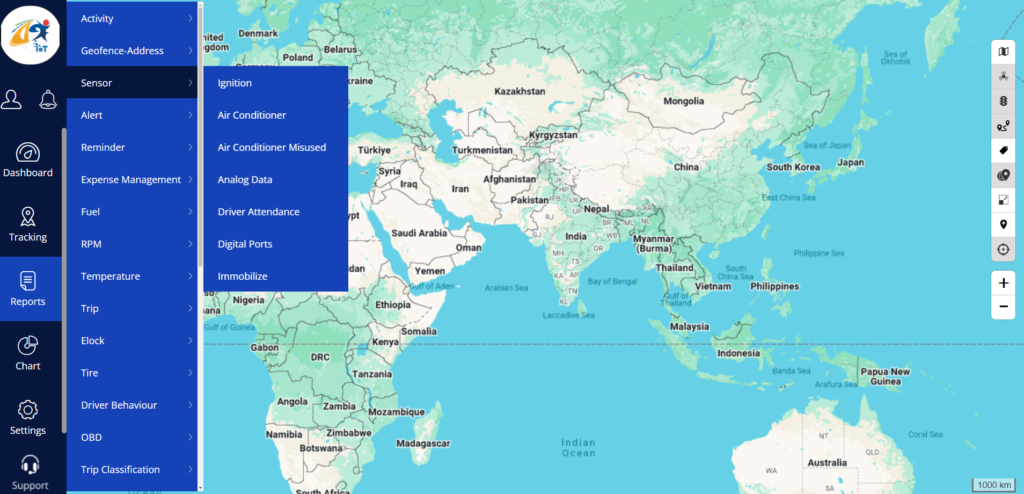
Note: If users are confused about the section and properties they need to just click on the (Description) Icon. Which is the upper right corner of each section.
To access all of the items in the Sensor, the user needs to apply filters. They are: company, branch, vehicle group, vehicle type, vehicle brand, vehicle model, date range, Digital port, AC misused Based on, and AC misused limit.

Alert #
In the Alert, the user has access to Vehicle alert, Driver Alert, SMS-Email Status, and Alert Status.
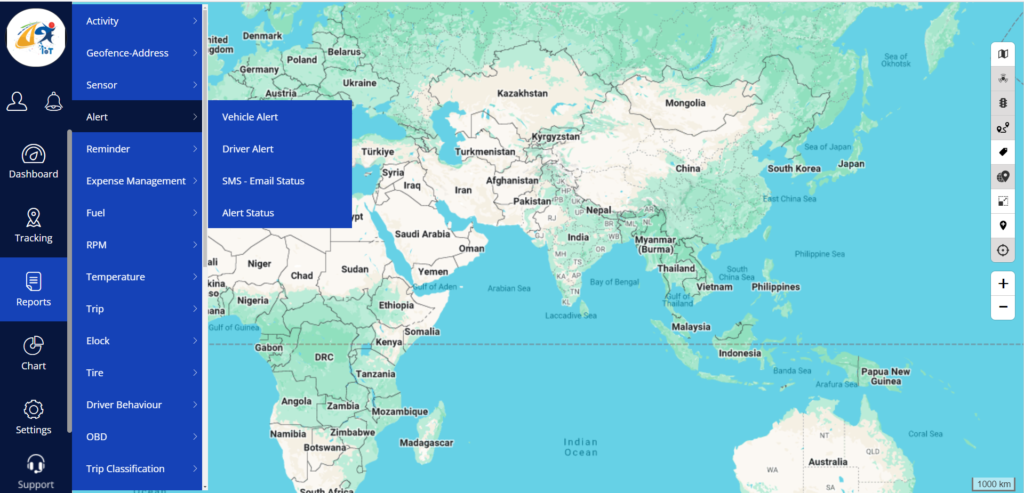
Note: If users are confused about the section and properties they need to just click on the (Description) Icon. Which is the upper right corner of each section.
The user needs to apply filters to access all of the items in the Alert. They are company, branch, vehicle group, vehicle type, vehicle brand, vehicle model, date range, Alert type, and severity.

Reminder #
In the Reminder, the user has access to Reminder Status and Acknowledgment History.
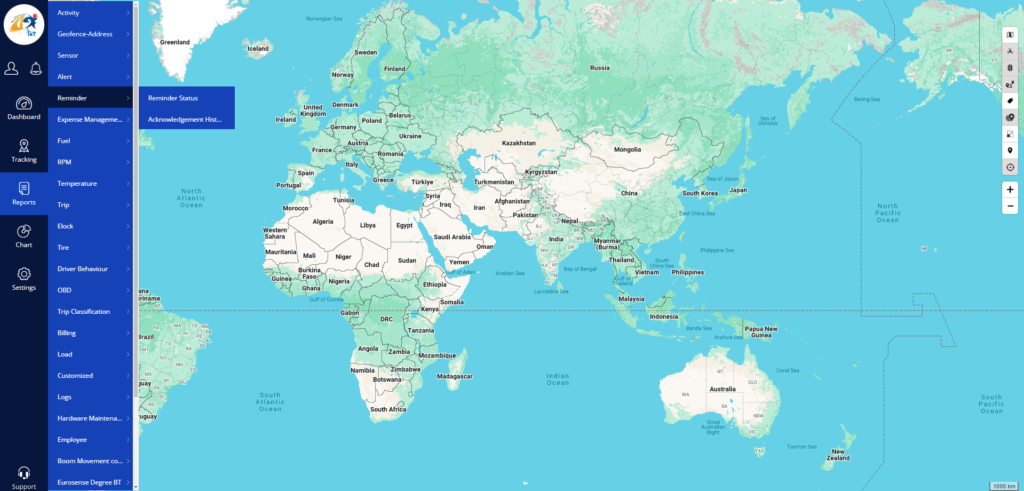
Note: If users are confused about the section and properties they need to just click on the (Description) Icon. Which is the upper right corner of each section.
The user needs to apply filters to access all of the items in the Alert. They are company, branch, reminder type, Status, and vehicle selection.

Expense Management #
In Expense Management, the user has access to Expense Management, Vehicle cost, Maintenance History, and Category-wise expense.
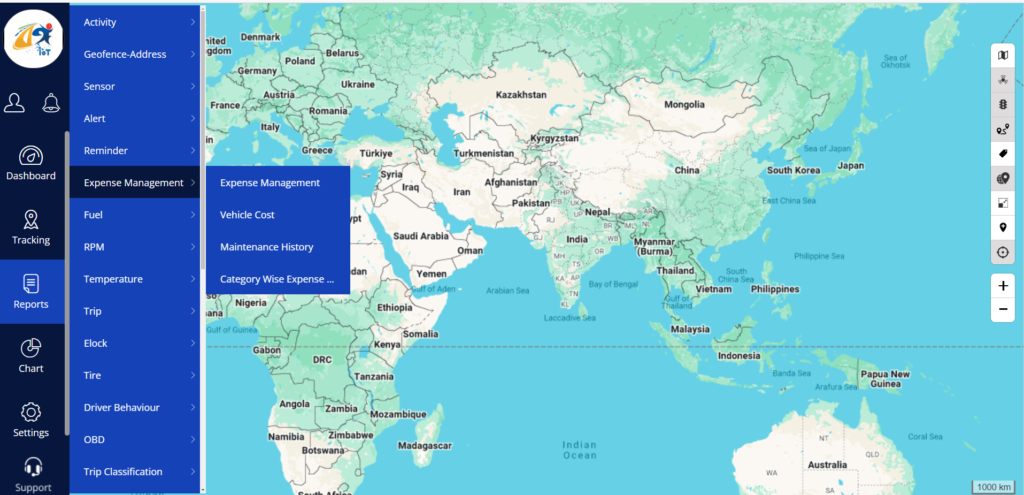
Note: If users are confused about the section and properties they need to just click on the (Description) Icon. Which is the upper right corner of each section.
To access all of the items in the Expense Management, the user needs to apply filters. They are company, branch, vehicle group, vehicle type, Expense category, expense type, subtype, date range, and expense duration.

Fuel #
In the Fuel, the user has access to Fill-Drain, Fuel economy, Fuel consumption, Fuel abnormal Consumption, and Fuel Dashboard.
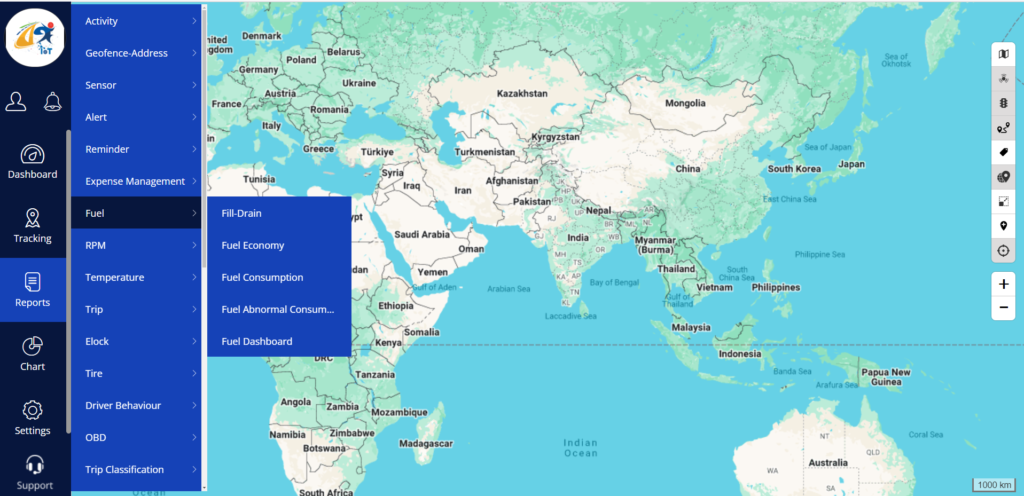
Note: If users are confused about the section and properties they need to just click on the (Description) Icon. Which is the upper right corner of each section.
The user needs to apply filters to access all of the items in the Fuel. They are company, branch, vehicle group, vehicle type, vehicle brand, vehicle model, date range, etc.

RPM #
In the RPM, the user has access to RPM Status, and RPM Summary.
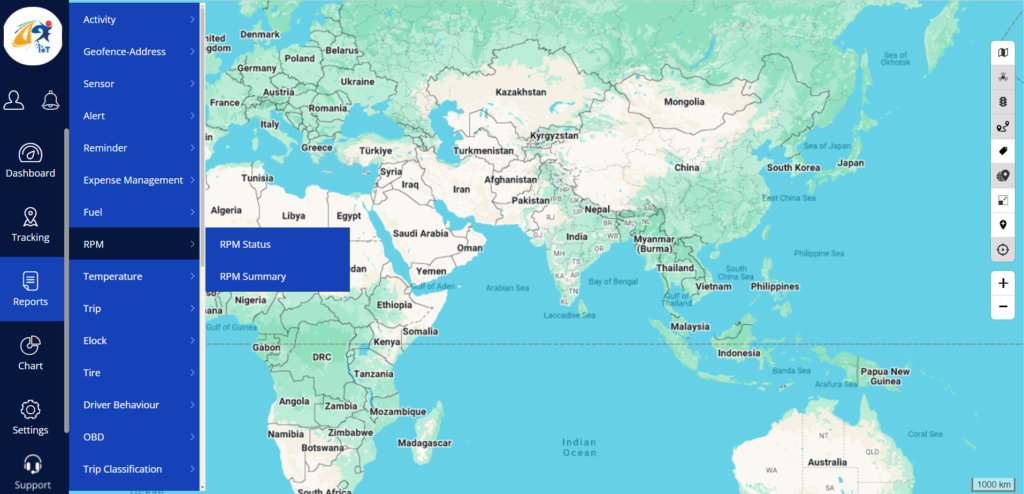
Note: If users are confused about the section and properties they need to just click on the (Description) Icon. Which is the upper right corner of each section.
To access all of the items in the RPM, the user needs to apply filters. They are company, branch, vehicle group, vehicle type, vehicle brand, vehicle model, date range, etc.

Temperature #
In the Temperature, the user has access to Temperature Status, Temperature Summary, Temperature Daily Summary, and Temperature Trip Summary.
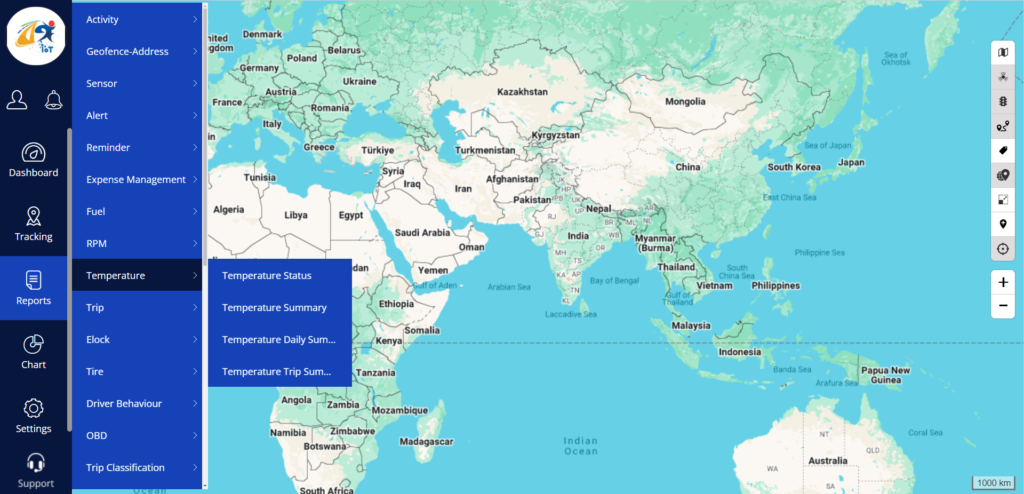
Note: If users are confused about the section and properties they need to just click on the (Description) Icon. Which is the upper right corner of each section.
To access all of the items in the RPM, the user needs to apply filters. They are company, branch, vehicle group, vehicle type, vehicle brand, vehicle model, date range, and trip calculation for.

Driver Behaviour #
In the Elock, the user has access to Driver activity, Driver Work Hours, Driver Violation, Driver Rating, Rag Score, Vehicle’s ADAS DMS Events, and Driver’s ADAS DMS Event.
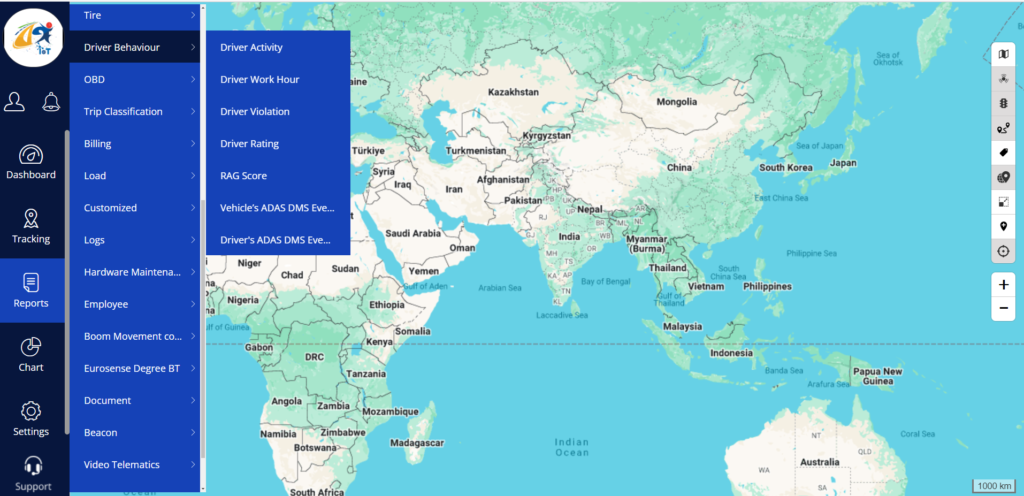
Note: If users are confused about the section and properties they need to just click on the (Description) Icon. Which is the upper right corner of each section.
The user needs to apply filters to access all of the items in the Driver Behavior. They are company, branch, Driver Activity considered for, Driver name, rating, Rag scores considered for, and Date selection.

OBD #
In the OBD, the user has access to Health status, Engine Temperature, Battery Voltage, and OBD Raw Data.
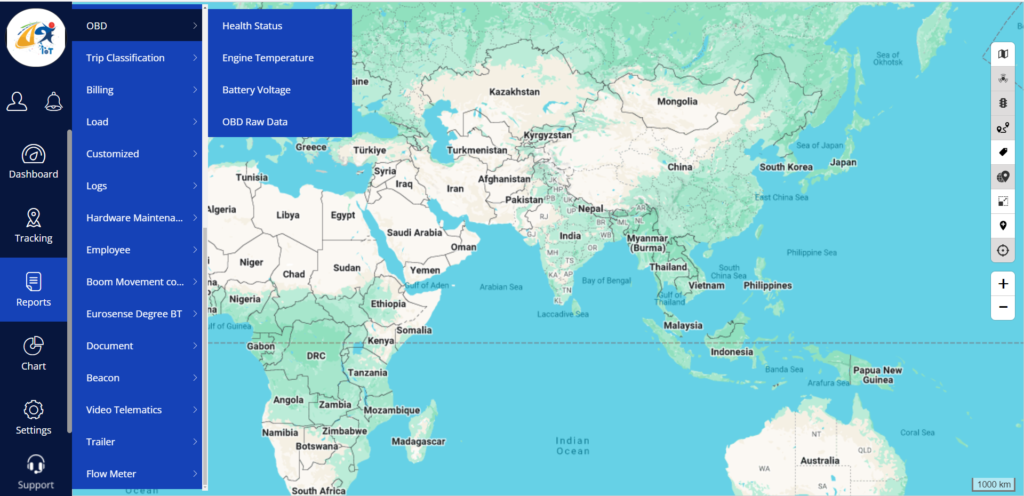
Note: If users are confused about the section and properties they need to just click on the (Description) Icon. Which is the upper right corner of each section.
The user needs to apply filters to access all of the items in the OBD. They are company, branch, Health, OBD parameter, and Date selection.

Billing #
In the billing, the user has access to Payment Detail, Postpaid Billing History, Vehicle Expiry Log, and Admin Wise Vehicle.
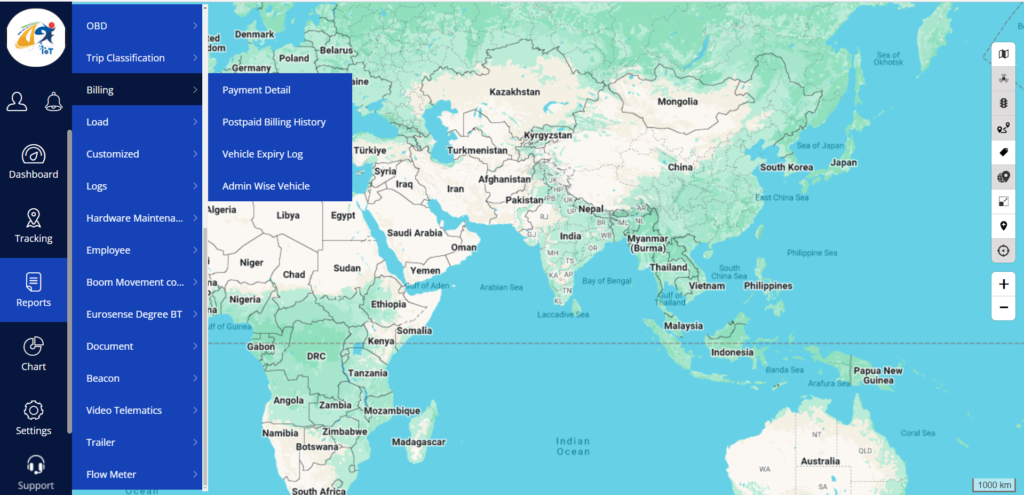
Note: If users are confused about the section and properties they need to just click on the (Description) Icon. Which is the upper right corner of each section.
The user needs to apply filters to access the items in the Billing. They are Company, Branch, Vehicle Group, License status, Report base on, Admin, application for, Invoice for, Report for, and Date range.

Logs #
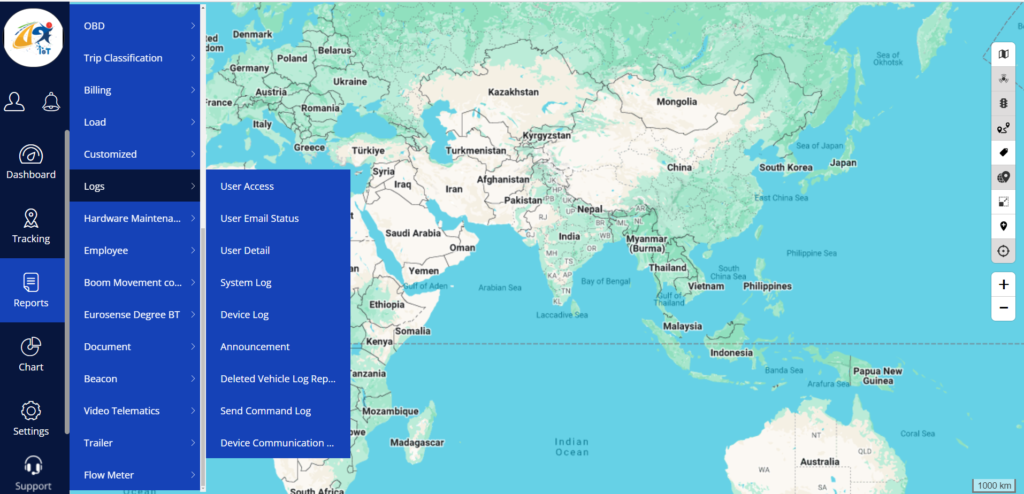
In the logs, the user has access to User Access, User Email Status, User Detail, System Log, Device Log, Announcement, Deleted Vehicle Log Report, Send command Log, and Device Communication Log.
Note: If users are confused about the section and properties they need to just click on the (Description) Icon. Which is the upper right corner of each section.
The user needs to apply filters to access the items in the Logs. They are Company, Branch, Vehicle group, vehicle type, vehicle brand, vehicle model, device model, device status, access from, Date selection, Mail delivery status, application, user group, etc.

Hardware Maintenance #
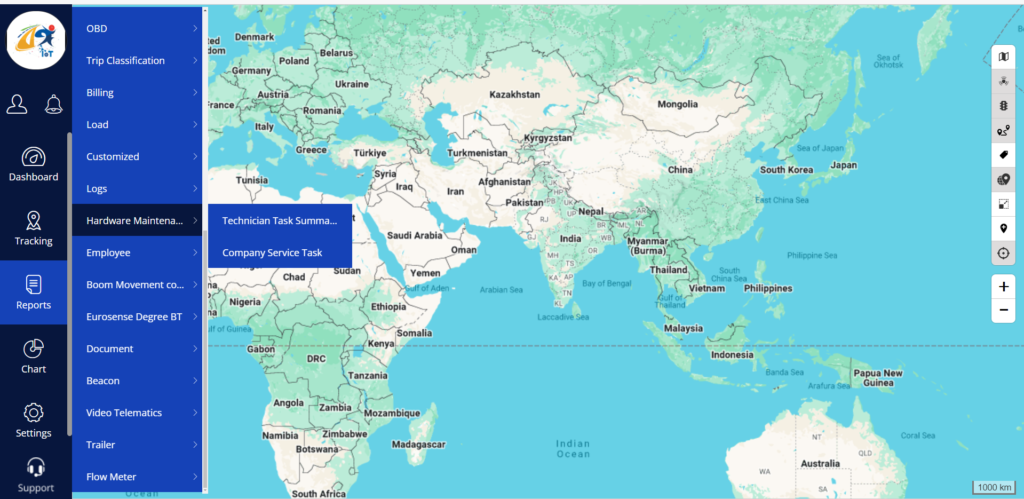
In Hardware Maintenance, the user has access to Technician Task Summary and Company Service Task.
Note: If users are confused about the section and properties they need to just click on the (Description) Icon. Which is the upper right corner of each section.
The user needs to apply filters to access the items in the Hardware Maintenance. They are Company, Branch, Task category, task status, Date range, and technician search.

Document #
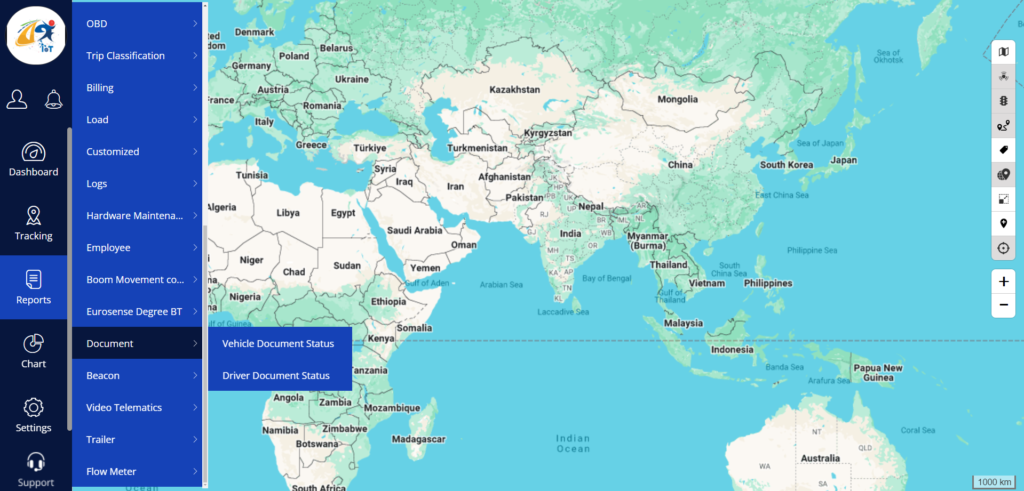
In Document, the user has access to the Vehicle Document Status and Driver Document Status.
Note: If users are confused about the section and properties they need to just click on the (Description) Icon. Which is the upper right corner of each section.
The user needs to apply filters to access the items in the Document. They are Company, Branch, Date section, and vehicle selection.


