Table of Contents
When a user logs into their account, the following screen appears:

The application’s logo or welcome message, if one was entered, are the first things a user sees.
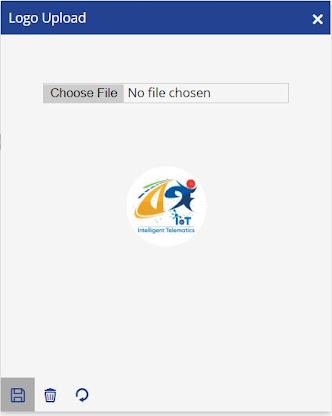
- The Login Panel is located on the left. The Upload Logo option is located at the top of the login screen. The logo of the user’s organization can be uploaded from here and shown on the login screen.

To upload the logo: #
· Login to your account.
· Click on Upload Logo from the left-side Panel.
o Click on Choose File and upload the image of the logo.
o Click on the Save 💾 icon.
Manage Accounts #
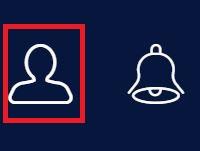
- Next is the Manage your account section on the Login Panel, which consists of all the shortcuts. From here a user can also logout from the application.
Notification #
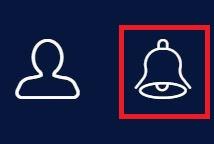
- The Notifications area, which is located on the login panel next to the User section, allows users to access all notifications and announcements.
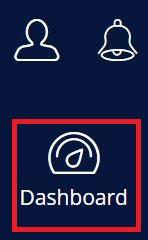
Dashboard #
- The Dashboard, which is a graphic representation of all the account activity, comes next. A user can access the dashboard interface by clicking on Dashboard.
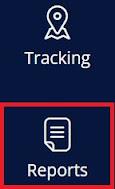
Tracking #
- Tracking is located on the login panel below the Dashboard. The term “tracking” refers to the user’s ability to see the real-time activity of their items via the live tracking interface.

Reports #
- Reports are located beneath Tracking on the login panel. Reports provide a textual representation of all the data collected from the device.
Charts #
- Next, on the login panel, under Reports, is Chart. The reports are shown graphically in charts.

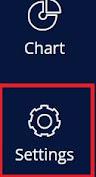
Settings #
- The Settings option is the final on the login screen and is located below the Chart. The platform’s configuration module is essentially called Settings. The settings are where you may make all the configurations.